Ideal for showcasing products, CMS style WordPress Theme Blue Rooster is available for free!
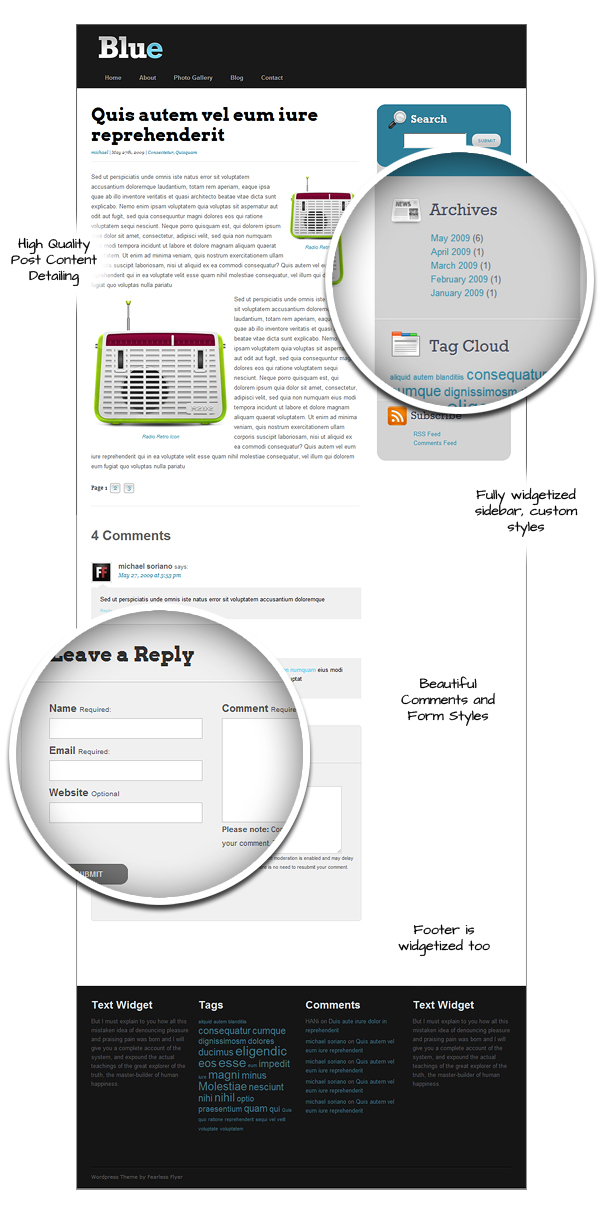
Finally done with a simple theme called Blue Rooster. The theme is a two column layout with a extra templates that can convert your blog into a CMS. The sidebar and footer are both widgetized, author and category templates included, as well as social buttons already intact. The theme style is a mix of rounded corners, flat edges and wooden elements with a schema of muted, dark colors on a plain white surface. Blue Rooster is free under Creative Commons license.
Usage
Blue Rooster is ready to use out of the box. The standard blog template will work with or without assigning thumbnails to your posts. In order to use thumbnails – you would have to assign custom fields to your posts with name: “image“. To learn more about custom fields – check this link from the WordPress Codex. You DO NOT have to resize your images for the thumbnails, thanks to the Darren Hoyt for his TimThumb script which made this all possible. The thumbnails are also powered by jQuery: PrettyPhoto – which is a lightbox clone where the larger images are displayed when clicked. A link to the single post is also included with the larger image.
The Bonus Templates

If you want to use the slide show in the front page – just apply the template “template-home” to your home page. Then make this page the static page of your site. To customize the slide show – simply replace the images in the images folder. Note that there are two sets of images: the larger image and the bottom bar. The active state and non-active state of the bottom bar matches the larger image. The Testimonials section in the template are actual posts under a category: testimonials. Simply create this category and start creating posts under it. The testimonial author works as the title for this section.
The Photo Gallery page is as simple as applying “photo gallery” to a page. The images in this gallery are automatically populated from your custom field thumbnails. So in order for this to populate – you must use thumbnails in your post.
Other Stuff
A custom login form is built in the header which is also jQuery powered. Once logged in will give you quick access to the dashboard, as well as quick “Edit” links after each post. The single post page includes an author information which feeds information from your user profile and Gravatar. So to utilize this section – your user information and gravatar must be filled out. The comments section support threading and pagination.
How to add links inside the Slideshow
In the template file called “template-home.php” is a section called “rotate” (means a div with an id named “rotate”). Within this rotate section, is a series of empty divs that have different ids – namely: fragment-1, fragment-2 and fragment-3. Even though these fragments are empty – they are styled with a background image in the stylesheet – so they appear that they have a large image.

You can enter anything inside these fragments as you wish (text, other images and even links).

Save the template and view

Now it’s totally up to you to change the background image, to fit the new link. It is also up to you to change the “style” of the link – to make it into a button, a large image – whatever you wish.
As mentioned, these div fragments are empty – so you can add anything you want.
Conclusion
You can download the theme from this link. Additional documentation can be found in this series of posts. Don’t forget to leave your comments below.