How to Add Lightbox to WordPress without a Plugin
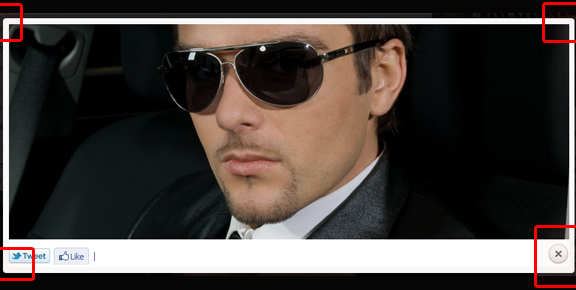
Many times when I’m developing themes – I think of the simplest features to include. Always on top of my list – is a lightbox effect on images. A lightbox effect is when a thumbnail of an image is clicked, the larger version of the image is faded in – while the rest of the page is dimmed in the background. This is very useful because it eliminates the need to leave the current page just to view the large version of the image.
Adding it to a WordPress theme has its benefits as well. For one, the code stays with the theme. Anyone who uses it gets this effect automatically. Not to mention, it’s pretty easy to implement.
This article will walk you through how to add Lightbox into your WordPress themes. I’m also going to assume that you have created WordPress themes before, for you will need to know how to work with template files and such. Ready to get started? Let’s begin.
Grab Pretty Photo
There are many lighbox plugins out there. I choose one called Prettyphoto from no-margin-for-errors.com. Prettyphoto uses jQuery, and is quite extensible. But the main reasons why I chose it is because the animation is flawless and the design is awesome. Download the production version from this link
Extract the .zip file into your hard drive. Inside prettyPhoto_compressed_3.1.2 – you will find the following folders and files. Copy them according to below:
- prettyPhoto folder (from prettyPhoto_compressed_3.1.2images) and place inside (yourthemeimages)
- prettyPhoto.css (from prettyPhoto_compressed_3.1.2css) and place inside your theme root folder
- jquery.prettyPhoto.js (from prettyPhoto_compressed_3.1.2js) and place inside (yourthemescripts)
Include the Scripts
First we need jQuery. There is a preferred way to include jQuery into our themes – that is to use the wp_enqueue_script function. Open functions.php and add the code below. *If your theme doesn’t have a functions.php file – go ahead and create one.
function insert_jquery(){
	wp_enqueue_script('jquery');
}
add_action('init', 'insert_jquery');
Note that this is the preferred way because since WordPress is already shipped with a bunch of scripts (including jQuery) – you might as well use them. It is also considered good practice because updating Worpdress will include these javascript libraries (and how often do you do that!)
Add the Prettyphoto script and css into your theme header.php file:

Custom Code
Modify the code in prettyPhoto.css. This step is necessary so the path to the images for prettyPhoto is corrected according to your setup:
- open prettyPhoto.css
- CTRL + F (Find) all instances of “url(../”
- And replace with “url(” *There should be around 100 occurences
- Save the file
Again, this is due to the location of the images and the css file has changed from the example files from prettyPhoto. This ensures the images needed for our lightbox is functioning properly:

Open header.php – and add the following code:
What the above code does is selecting all links with the href attribute that equals to anything ending in .jpeg, .jpg, .gif and .png, and applying the prettyPhoto() function to it. This means that any link tag that leads to an image (file extensions mentioned) will trigger prettyPhoto. The script is also enclosed inside a document ready event using a jQuery noConflict wrapper. This is to prevent any compatibility issues with other javascript libraries that maybe included with your theme.
I also went ahead and added some options such as the animation speed, padding and show title to our .prettyPhoto function. For additional customization options – refer to the no-margin-for-errors documentation.
Conclusion
If all goes well – you can test your work by clicking on an image that links to another image. This should launch the prettyPhoto code that we’ve just plugged in. You can also apply the same code to links with inline content, external files, youtube movies or other flash based content. Again, refer to prettyPhoto documentation.