Here are some WordPress 3.0 snippets
The more you build WordPress themes, the more you discover a few bits and pieces of code. I, on one hand, have collected quite a few. Most of them really do not apply for general use because they’re more client-driven. Although some are quite handy, that I decided to share in this post. Here are a few Worpress 3.0 snippets that you can use in your themes:
Most of these functions rely on the post thumbnail feature in Worpdress 3.0. Make sure that your current functions.php has this piece of code:
add_theme_support('post-thumbnails');
Use Post Thumbnail and Custom Image Concurrently
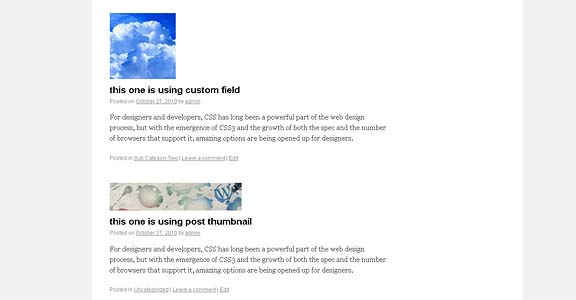
Many of you have themes that are still using the old way of custom fields for thumbnail images. When Worpdress 3.0 came out with the the_post_thumbnail functionality, adding a thumbnail image for your post has never been easier. This code will allow you to update your theme to use either the custom field that you already have, or the new the_post_thumbnail() function:
Open your themes functions.php, add this piece of code:
function my_post_thumb($w, $h, $classname, $cf_key)
{
global $post;
if (function_exists("has_post_thumbnail") && has_post_thumbnail())
{
$theImage = the_post_thumbnail(array($w, $h), array("class" => $classname));
}
elseif(get_post_meta($post->ID, $cf_key, true) )
{
$theCf = get_post_meta($post->ID, $cf_key, true);
$theImage = ' '; //without timthumb
return $theImage;
}
}
The above function accepts 4 parameters:
- the width of the image
- the height of the image
- the custom class for the image
- the key of the custom field that you have for your existing theme
It then checks if either custom field or the_post_thumbnail exist – and uses it, passing the parameters along the way.
Paste the following snippet anywhere inside the loop where you want your thumbnail to show. Of course you can change the parameters to your settings.

Have a different background image for each Post
You want to get creative. You want to be unique. You want a different background image for each post. This snippet will allow you to use the post thumbnail image – to be the background for that post. Paste the following code into your functions.php file:

function my_unique_background(){
 	if (is_single()){
		global $post;
		$thumb = get_the_post_thumbnail($post->ID);
		if($thumb != ''){
			$pattern= "/(?<=src=['|"])[^'|"]*?(?=['|"])/i";
			preg_match($pattern, $thumb, $thePath);
			$theSrc = $thePath[0];
			$theStyle = 'style="background:url(' . $theSrc . ') center top ;"';
			return $theStyle;
		}
	}
}
Thanks to WPCanyon for the part of the code. Next, apply the following snippet inside the body tag of your theme. Note that the body tag is usually inside header.php:
Preview your post and you should see the feature image tiled across the background. You can apply a different tiling style for the image by editing the $theStyle inside the function.
Display a “Just Added” label to your posts published “n” days ago
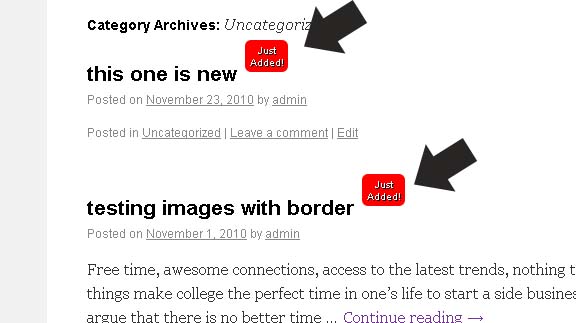
We’ve seen this in many websites. This is where freshly published posts have a ribbon or a sunburst graphic that says “new”, or “just released” or “hot off the oven” – based on the post’s publish date. At first I thought it would be a simple process: grab today’s date, subtract the post date and if it’s less than a certain number – then add a little span tag. But boy – working with dates is a pain.
So I cheated and looked into a default WordPress function that displays a human friendly date format known as “human_time_diff()”. Since this code already does most of the work – all I had to do is copy the parts I need and create a new function. Paste the following into your functions.php:
function my_just_added($numdays){
global $post;
	$to = time(); // todays date
	$from = strtotime($post->post_date); //post date
	$diff = (int) abs($to - $from);	//subtract the two
	$days = round($diff / 86400); //divide by 86400 seconds (1 day)
	if ($days <= 1) {
		$days = 1;
	}
	if ($days < $numdays ){
		$span = 'just added';
	}
	return $span;
}
Read the comments above for further explanation of the code. Now paste this snippet anywhere inside the loop. *An ideal spot is right next to the post title:
You can replace the parameter to whatever number of days you want for the freshness of your post i.e. enter 5 for 5 days, 15 for 15 days etc.

