Improve workflow by using Style Guides in your Web Design
The trends among designers who want to be able to use their time more effectively and build out valuable deliverables more quickly are continually being refined for more efficient web design projects. So in the interest of achieving more in less time, many web designers are adopting agile techniques from developers, and implementing them into their regular workflow.

One such technique, called continuous integration, is a method that involves frequently integrating a team’s work to build something usable faster, and to avoid encounters with bugs that require a major overhaul of the work.
To similarly apply this idea of quickly turning out work, designers often use web style guides as a tool in their work. Using them as a part of the design process has proven to be a valuable habit for many, as they allow designers to work from an already-coded set of elements – which allows for more time to be spent testing and interacting with the working design.
Consider Agile Development
Continuous Integration is a form of Agile Software Development. A relatively new method, it differs from the more traditional “waterfall model, which requires a comprehensive design upfront, and one big deliverable to the client at the end of the project. This can be a risky process, since its linear nature leaves room for bugs to slip in unknowingly (until the project is finished), but leaves little room for any needed change that might arise.

Agile involves working in short iteration cycles, which each produce a useful deliverable at the end. In this method, a working product is the measure of progress, so it involves continually building something tangible, which can easily and quickly adapt to changing needs. Designers who subscribe to this practice typically keep in continuous communication with their clients, so that they can see the progress of the project, and also interact with it as it’s developed and address any desired changes. By giving clients multiple smaller deliverables throughout the design process as opposed to one large one at the end, designers largely prevent communication errors or need for reworking.
Website Style Guides
What is it?
A style guide dictates the design of the elements that go into a website. It is often created for the client to ensure consistency in branding after a designer leaves a project, because it materializes all the thought and expertise of the designer’s solutions, so that they can be used and interacted with by others involved with the project.
However, web style guides are much more beneficial if created at the start of a project, and used by the designer throughout the process. Here are some important things to include in a style guide:
Layout
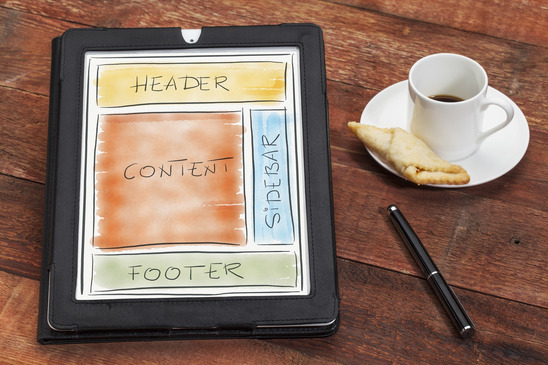
While this is subject to change throughout your process through experimentation and communication with your client, you can outline a general layout for your project, like grid pattern, element positioning and column spacing.
Branding
This is where you define branding elements such as graphics, color palette, logo restrictions, etc.
Typography
Sizes are likely to change as you work, so use this section to identify your specific font choices and how they’re used, like in headlines, copy, etc.
Navigation
This contains the more detailed design elements, like text links, drop downs, navigational buttons, search boxes, link colors – and anything else that is interacted with while navigating through the site.
HTML elements
List heading styles, copy, forms, button text and labels for easy implementation.
Media
Dictate proportions and image cache settings you’ll be using for images and videos. Put this all together in one document or HTML page for easy reference while you work, and to ensure interface harmony.
Why is it important?
If the practice of using style guides is new to you, you might typically spend the majority of your design time on perfecting Photoshop mockups before diving straight into building pages from them. This method forces you to continue developing your product while building your pages, so you have nothing tangible to show for your hours of work until you’re finished. And if your client is unsatisfied with something, it’s no simple process to go back and rework it.
A more efficient and productive way of going about a project is to first build a style guide. This way, you can develop your product as you brainstorm, and you have something concrete to start with. Much like Agile development, this aims to quickly build useful elements, so that progress can be made. It also helps you maintain consistency in your interface elements, because their characteristics are already determined when your start on your pages.
How do you use it?
Create the code for all your page elements like buttons, headers and typography (and everything else outlined above) so that you can show them to your client right away. Not only does this allow the client to see quick solid progress, but using the style guide throughout your project completely changes the way you spend your design time. By having the elements of the site designed and coded when you begin to construct your pages, you immediately have something useful to work with. The already established code frees you to experiment with the way you use it in your layout. You can quickly implement your elements and make variations per your own opinion or your client’s request.
Examples of Web Style Guides
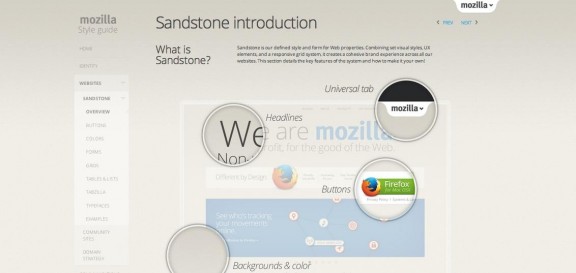
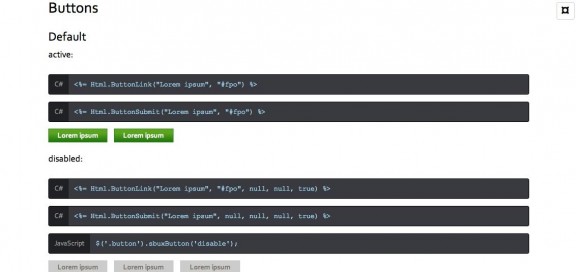
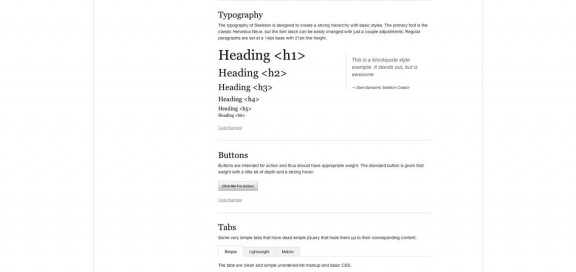
Here are some successful style guides to give you a visual image of how they work.
Conclusion
Using web style guides habitually in your process is a great way to optimize your design time. While it may begin as an adjustment to your workflow, you will surely see improvement in the fluidity and success of your workflow. And once you begin creating style guides, you can develop a pattern or template for them so you will get quicker at building them; before you know it, using style guides in your work will be second nature.


